Roast Chicken
I recently got a call from a woman, hysterical because I had “ruined the turkey” for her Thanksgiving dinner. She had discovered pink where the thigh joint joins the back of the bird. I tried to explain that a properly cooked bird will be pink (but not translucent) on the inside of the thigh. (Wolfgang Puck is the only one I know who backs me up on this.) I asked her if she at least ate the breast (which I assume was more cooked) and she said, no, that she had thrown the whole bird in the trash. So, I should probably explain in my books, when I tell people to take the bird out at 140 degrees, that the bird will still be pink near where the thigh joint joins the back.
While I think of roasting a chicken as the gastronome’s equivalent to a tv dinner–basically all you do is stick it in the oven–people are still intimidated by it.
The fact is you can have more than satisfactory roast chicken by simply sliding it into a 500-degree oven and cooking it about 45 minutes. If you have convection, turn it on.
You may wonder why the high heat. It’s essential for browning. Browning is one of the central challenges in roasting, particularly with small roasts, because the heat has to be high enough to brown the roast before it cooks through. Thus it’s impossible to brown a quail in a home oven (restaurant ovens are something else) without cooking it to death. On the other hand, roasting a turkey presents no problem because it spends so long in the oven in order to cook through.
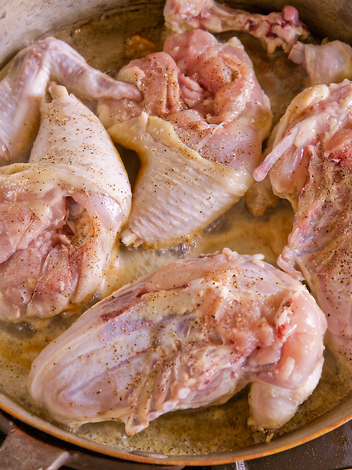
The solution for small birds is to brown them on the stove before sliding them in the oven.
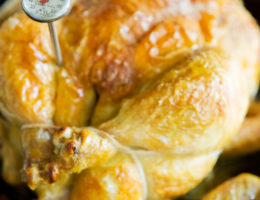
While you can roast a chicken by just sticking it into the oven and forgetting about it, there are a few tricks that improve it significantly. One of the most persistent problems facing the roaster of birds is the tendency of the breasts to cook through before the thighs. This is why the breast meat of so many turkeys is dry; relying on the pop-up thermometer is catastrophic. To avoid this, cover the breast of poultry loosely with buttered aluminum foil (or a bard, see page 000) for the first 20 minutes of roasting. This slows down the cooking of the breasts and gives the thighs more time to catch up. The bird is done when a thermometer stuck between the thigh and the breast (near the joint but not touching) reads 140 degrees. If you don’t have a thermometer, determine doneness by looking at the juices in the bird’s cavity. Most recipes say to wait until they are clear (initially they are a cloudy pink) but I’ve found that this overcooks the bird. A more reliable system is to wait until the juices are clear but streaked with red. Once out of the oven, cover loosely with aluminum foil for about 15 minute to let the heat redistribute and leave the chicken more evenly cooked.
The relatively low internal temperature that I call for often provokes questions about safety. While a somewhat higher temperature is required to kill salmonella, keep in mind that salmonella is only on the surface of the bird and not in the muscle tissue (the meat) unless the bird died of a septicemia. The surface of the bird gets much hotter than 140 degrees.
It is in part for this reason that it’s not a good idea to stuff turkeys and chickens. To cook the stuffing and get it to a safe temperature (around 160 degrees) you have to cook the bird to death. A better idea is to wrap some stuffing in aluminum foil and put it in the roasting pan next to the bird.
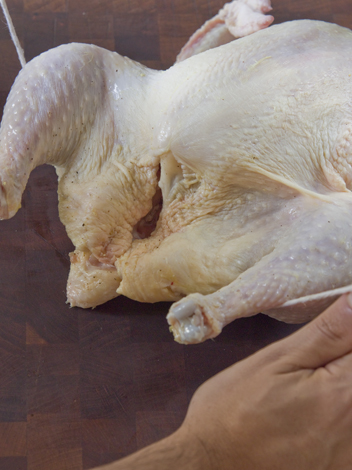
I’m often asked about roasting racks. I never use them because they suspend the bird above the roasting pan. This causes the juices to drip down on the pan which is much hotter than the bird and burn. To prevent this, put the bird right in the roasting pan. Select a roasting pan that’s close in size to the chicken so there aren’t bare patches that get too hot and cause the juices to burn. To keep the chicken from sticking to the pan, set it on a few slices of onion or carrot (these will contribute flavor to the juices, see below) or the giblets taken out of their little paper package. There are those who dispute the value of trussing, but trussing keeps the bird together and helps it cook evenly. It makes it look much more presentable at the table. Fortunately, there is a simple method that requires no needles or other instruments designed for putting holes in the bird.
1 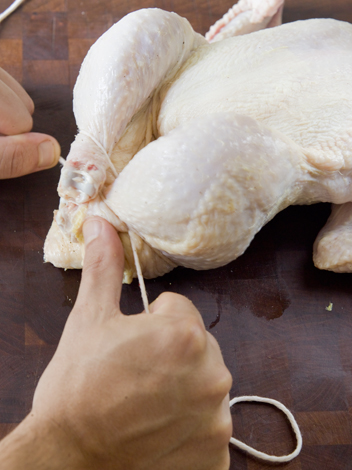
2 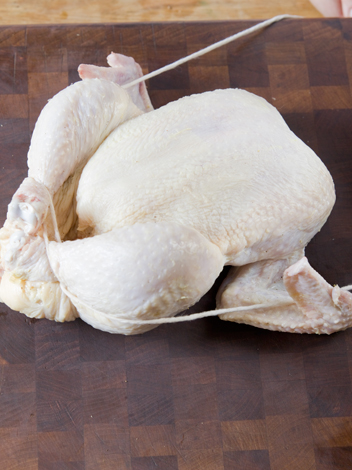
3 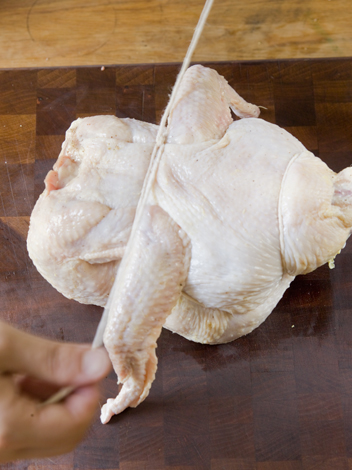
4 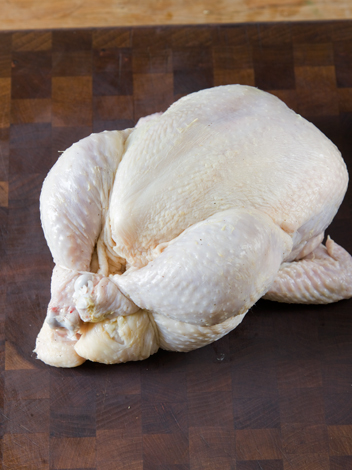
5 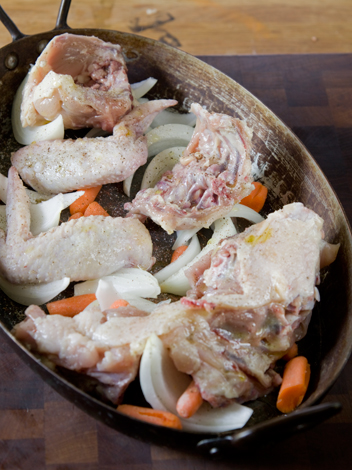
6 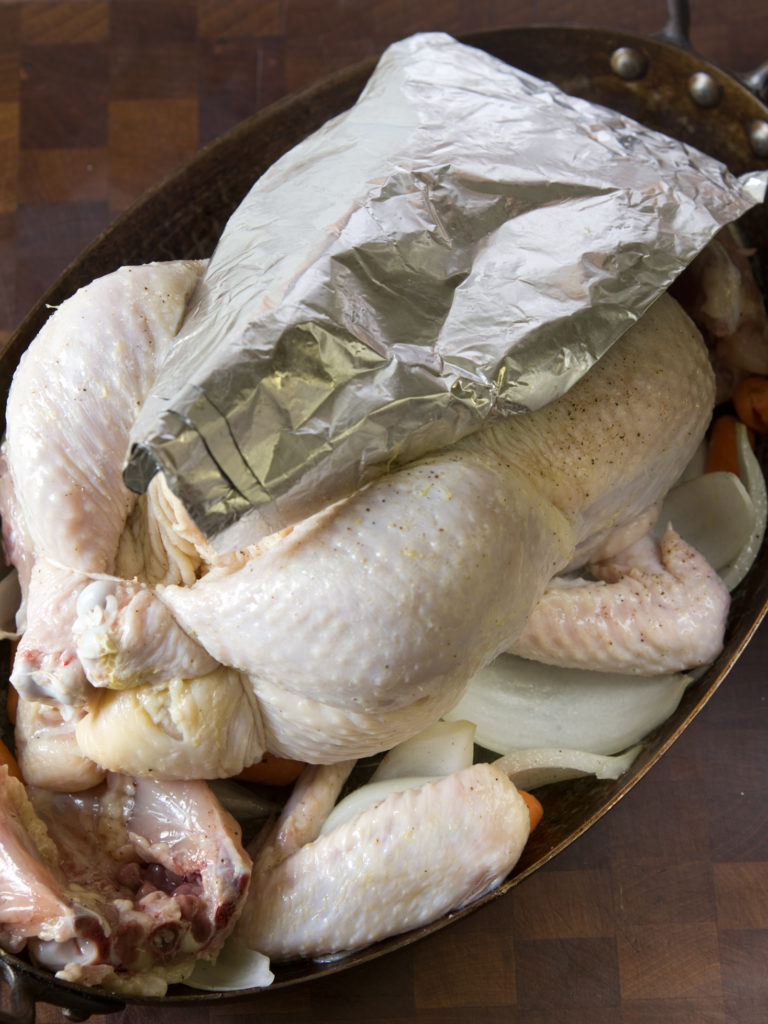
7 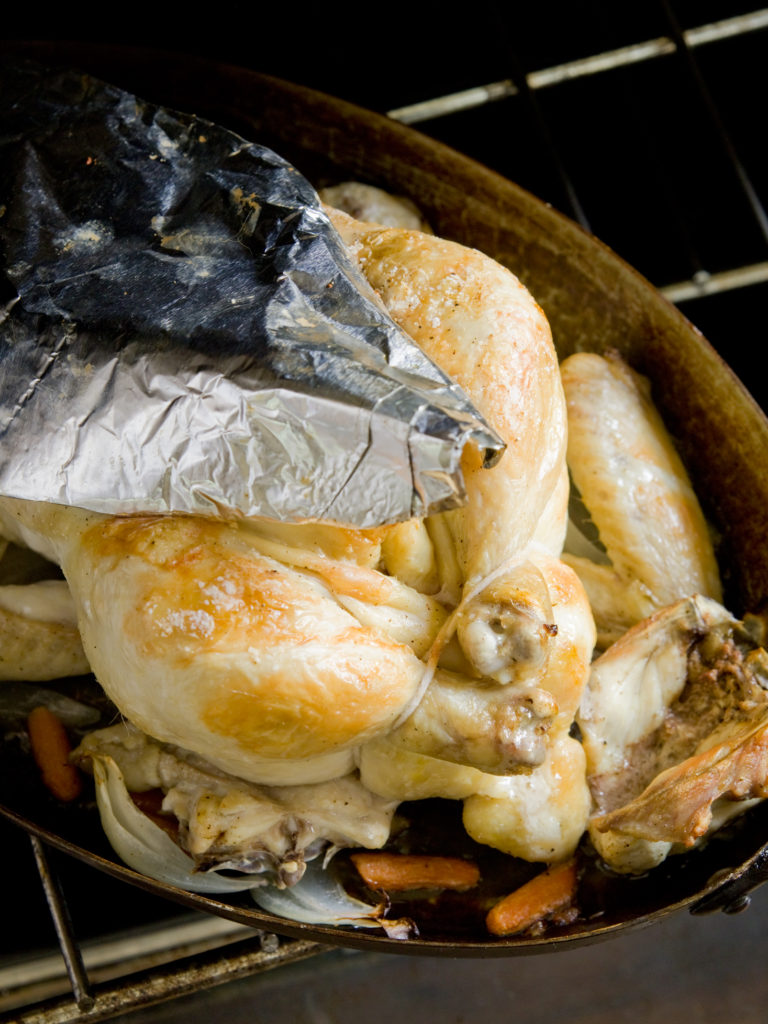
8 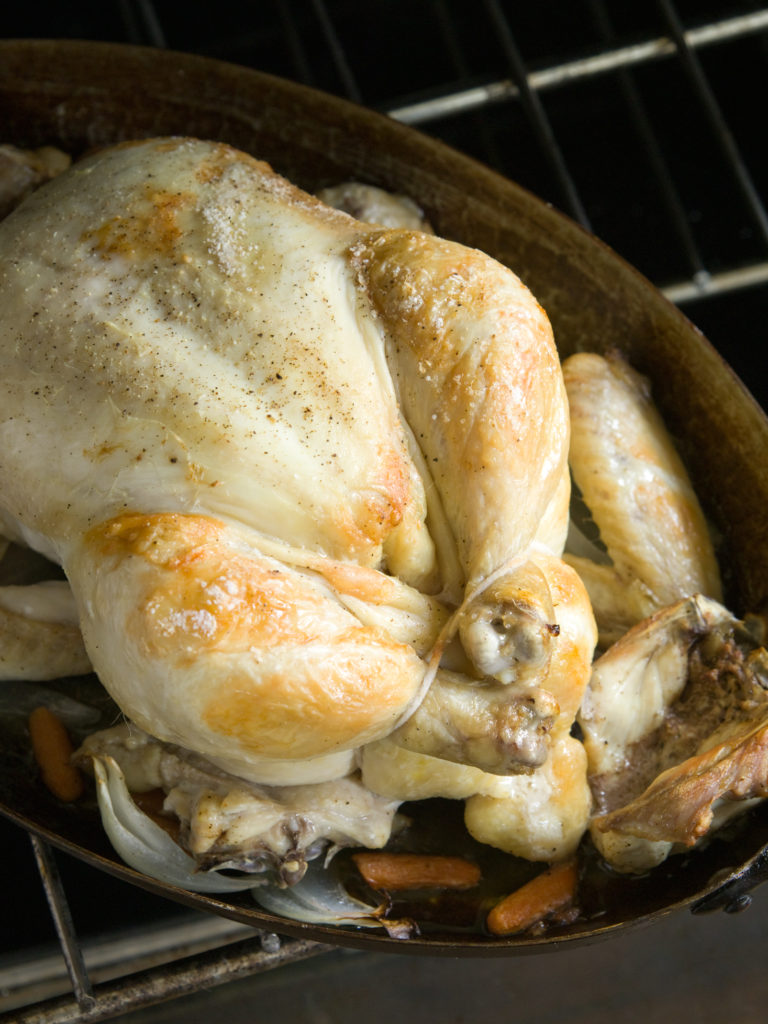
9 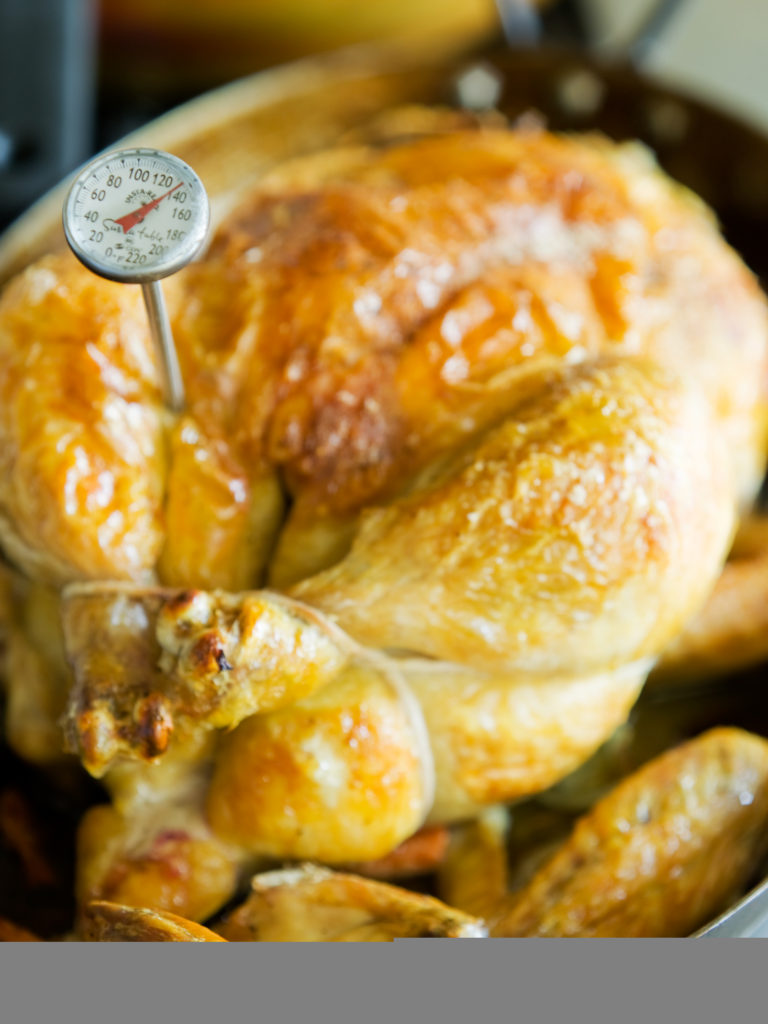
10
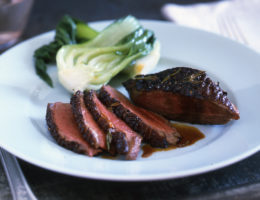
Jus & Gravy
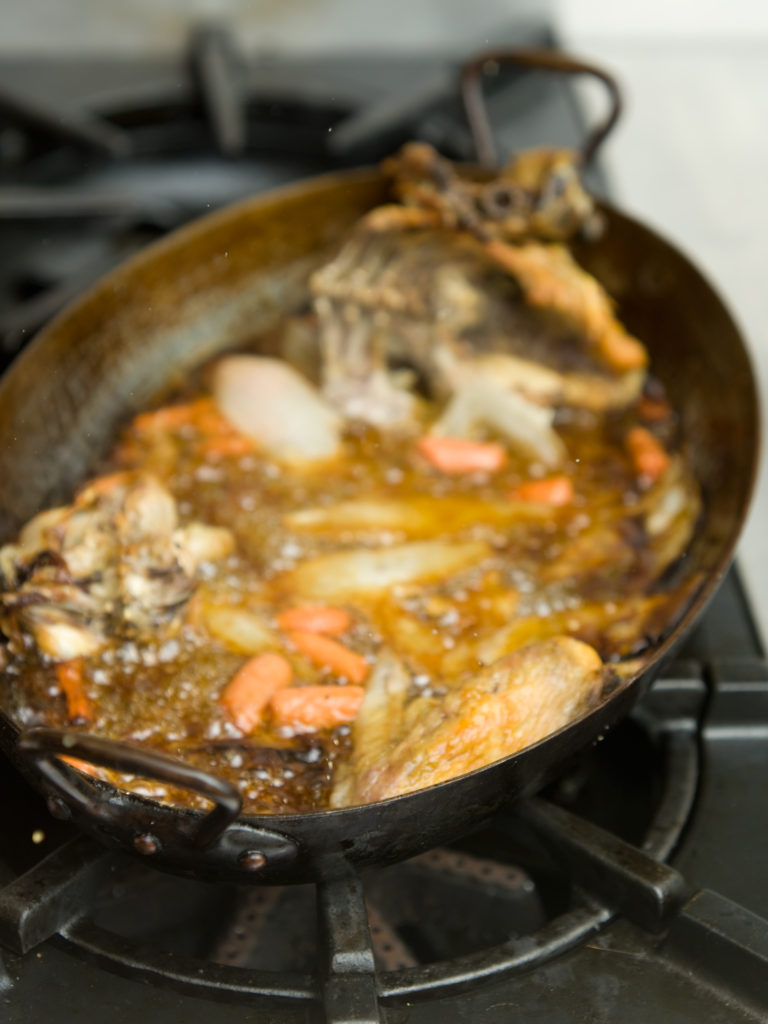
Last, there is the question of jus and gravy. A gravy is simply a jus that’s been thickened and in the case of roast chicken I rarely bother with the thickening unless it’s just to add a little heavy cream and reduce it a tad.When your chicken is finished roasting, the roasting pan will contain both juices (some or all which might be caramelized into a brown crust clinging to the pan) and liquid fat. The trick is to separate the two. If the fat is perfectly clear, it means that all the juices have caramelized and that all you need to do is pour off the fat before deglazing. If the juices are cloudy, it means that they have emulsified with the fat. The trick is to separate these emulsified juices from the fat. To achieve this, boil down the juices by putting the roasting pan on the stove. Re-position the pan every 30 seconds or so so that the juices brown evenly. When the liquid in the pan turns clear, and a brown crust has formed in the pan, pour off the liquid fat. Now you should have a roasting pan with a caramelized crust and no fat. Deglaze the pan with a small amount of water or broth (never more than a cup for a single roast chicken) and put the pan on the stove. Boil the liquid while scraping with a wooden spoon to get the crust to dissolve in the liquid.Another trick, and one that’s particularly useful if you don’t have enough drippings, is to make a kind of phony jus by caramelizing broth. Pour a cup of broth into the roasting pan and boil it down until it reduces completely and caramelizes on the bottom of the pan. Deglaze with another cup of broth, scrape up the crust, and caramelize again. Deglaze. Caramelize. Ad infinitum. (see also “jus,” page 000)
1 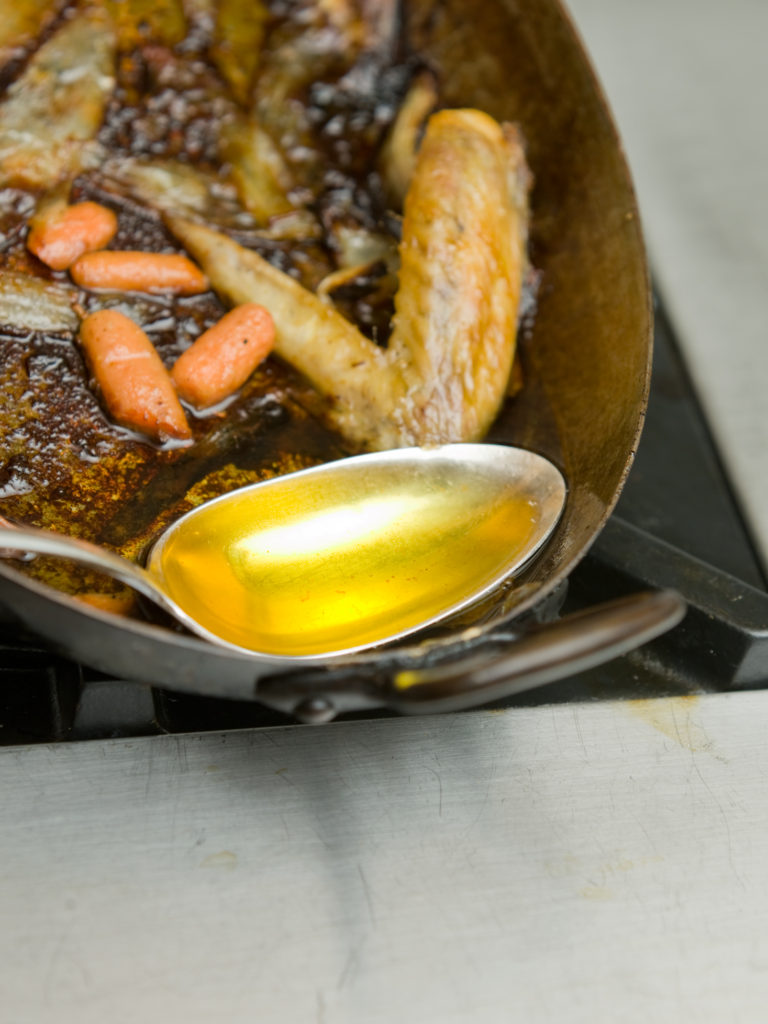
2 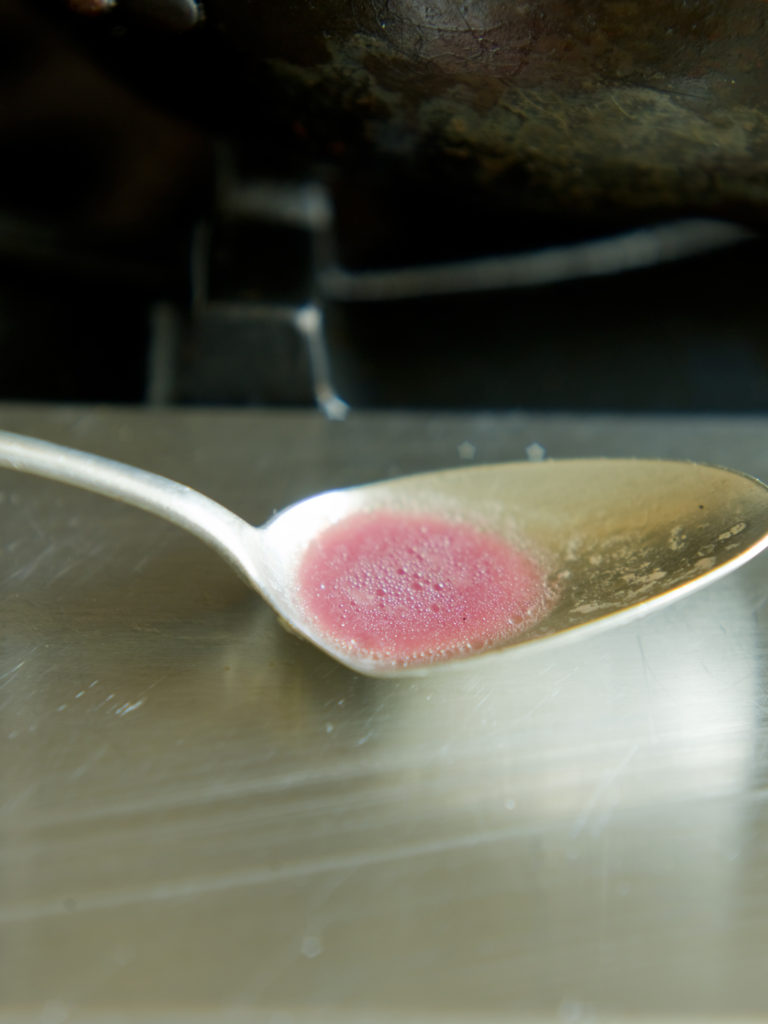
3 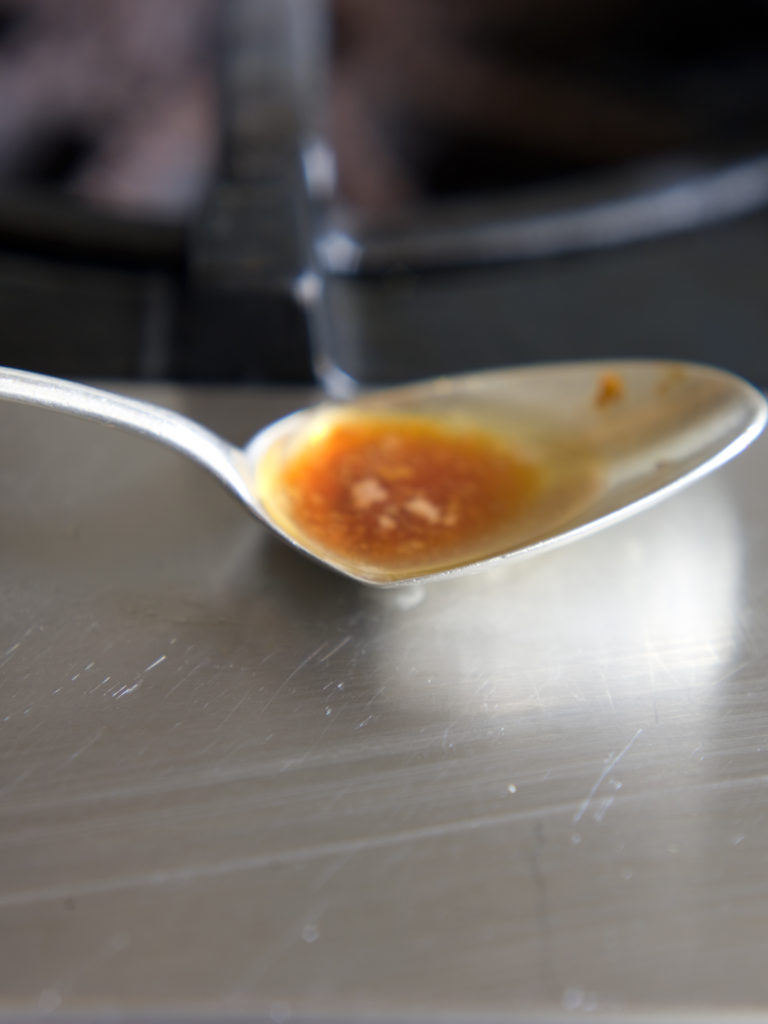
4
Braised Chicken (Coq au Vin)
I’m not going to give a recipe for coq au vin since I think we’ll become better cooks without one. More valuable is a description of the principles at play and an analysis of how the preparation works.
Traditionally, a rooster for a coq au vin should be marinated with aromatic vegetables and a bouquet garni in red wine. The aromatic vegetables and the wine are then used to braise the rooster, about 3 hours. The braising liquid is finished with beurre manié and the rooster’s blood. The braising liquid needs to be whisked into the blood and not the other way around or the blood will curdle. The cooked aromatic elements (onions, carrots, bouquet garni etc.) are removed and discarded (although some clever cooks puree them—not the bouquet garni–and use them to bind the sauce) and a separate “garniture” of glazed pearl onions, sautéed mushrooms, and little lardons of bacon is stirred into the stew just before serving.
If you have a real mature rooster, this is pretty straightforward, but most of the time we encounter or prepare “coq au vin”, we’re using a banal chicken, inappropriate for long braising. In the interests of authenticity, such a dish should be called “poulet au vin rouge.”
One might be tempted to assume that an identical process, with the braising time shortened, can be used to braise a chicken rather than a rooster. But there are problems. Since a cut-up chicken will cook in about 20 minutes in simmering red wine, the red wine and aromatic ingredients have no time to cook and the wine’s tannins and acids may remain harsh. The dish may have a raw wine taste. When using red wine, first, select a wine that is soft, that doesn’t have too much acidity or tannin, that’s a bit oaky, and very full-bodied. (Traits I like in cooking are often the opposite of those I like in drinking.) I find wines from Argentina to be particularly good cooking wines.
Once the wine in hand, the obvious solution is to simmer the wine ahead of time, before using it to cook the chicken. But wine simmered alone just becomes harsh and aggressive. Red wine must be cooked with proteins so the proteins clarify out the tannins and soften the acidity. So the trick is this: make a red wine stock in the same way you make stock with water (substitute the wine for the water) by first browning drum sticks or wings (dark meat is best; just buy the cheapest) and aromatic vegetables and then simmering them for 3 hours or so in the red wine. The resulting “stock” can then be degreased and reduced and used to cook our chicken.
Brown the cut-up chicken in butter (or lard if you have it—don’t use bacon fat which is too aggressive) until it’s well browned on each side. Take out the chicken. If you’re adding more aromatic vegetables (which may not be necessary since they were included in the red wine stock), cook them in the same pan over medium heat for about 10 minutes to soften them. Take out the vegetables, discard any fat and put the chicken back in. Pour over the wine stock, cover the pan, and simmer about 20 minutes until the chicken feels firm to the touch. (Removing the bone from the thigh ensures that the cooking time for the thighs and breasts is the same.) Take the chicken out, keep it warm, and decide what to do with the braising liquid. There are a couple of approaches. It’s unlikely you’re going to have blood so we’ll skip that for now. But beurre manié is a good option. There is also the possibility of reducing and degreasing the braising liquid until there’s a very small amount left (a half cup or so) and then finishing it with cold cubes of butter—usually about 6 tablespoons. This latter approach makes the dish richer and more intensely flavored but there’s less sauce to go around—but you’ll want less since it’s so rich.
You must also give thought to the garniture. If you’re using the classic garniture, most of the work can be done ahead—just sautéing the mushrooms has to be done at the last minute—including rendering the lardons and glazing the pearl onions.
Fortunately, coq au vin or poulet au vin rouge lend themselves to all sorts of improvisation. First, you can concentrate on a specific wine. While it’s unlikely that the character of a particular wine won’t be obscured by cooking, it’s worth experimenting with specific wines such as Beaujolais, Rhone wines, or red wines from the Loire Valley. Be sure to advertise that you’re using something other than a banal everyday wine by calling your dish coq au beaujolais or poulet au chinon. This takes your dish out of the ordinary and lends it panache. (Although I assure you that there will be nothing ordinary about a poulet au vin rouge made with good red wine stock.)
While the pearl onion/lardon/mushroom combination is delicious and classic (in addition, heart-shaped croutons, tips dipped in chopped parsley are sometimes used to decorate the finished platter) some substitutions are obvious. Using wild mushrooms will elevate your dish to celestial realms. A bit of chopped truffle would do no harm either. Also, add a spot of Cognac (not “brandy”) to your sauce about a minute before serving (be sure to cook off the alcohol). On the other end of the spectrum, you may want to simplify your dish by including the carrots, celery, and onions that were used for the braising. This, in fact, is the difference between cuisine bonne femme, cuisine bourgeoise, and cuisine classique. In cuisine bonne femme, the aromatic garniture (usually carrots, onion and celery) is left in the dish and becomes the final garniture (keep in mind that the vegetables can also be pureed and used to thicken the sauce). In cuisine bourgeoise, aromatic vegetables are added to the stew at an appropriate time during the cooking; in cuisine classique, the garniture is prepared completely separately (as for a classic coq au vin).
1 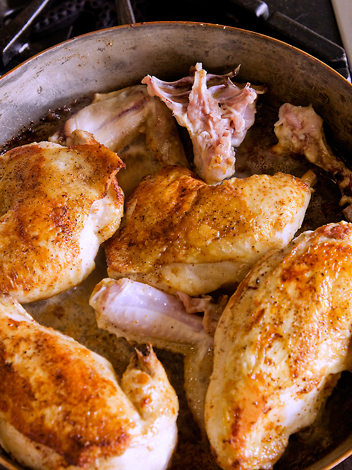
2 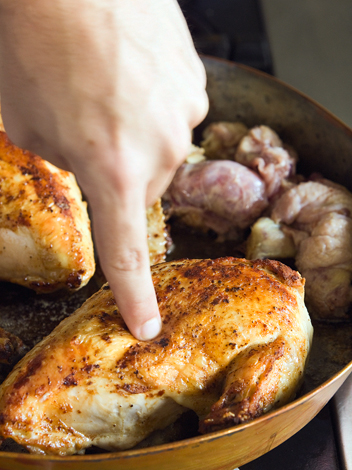
3 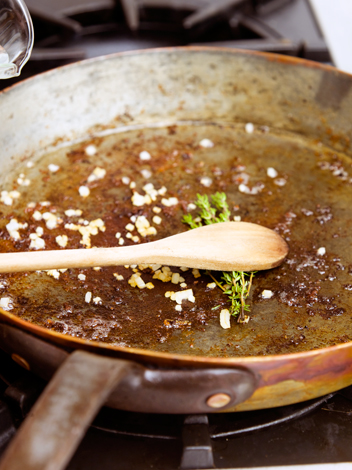
4 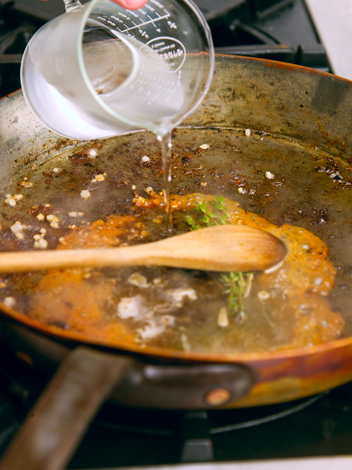
5 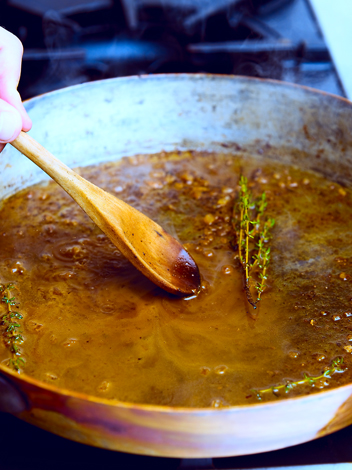
6 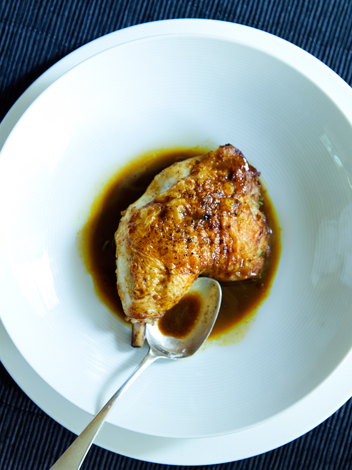
7
“Sauteing” Breaded Chicken
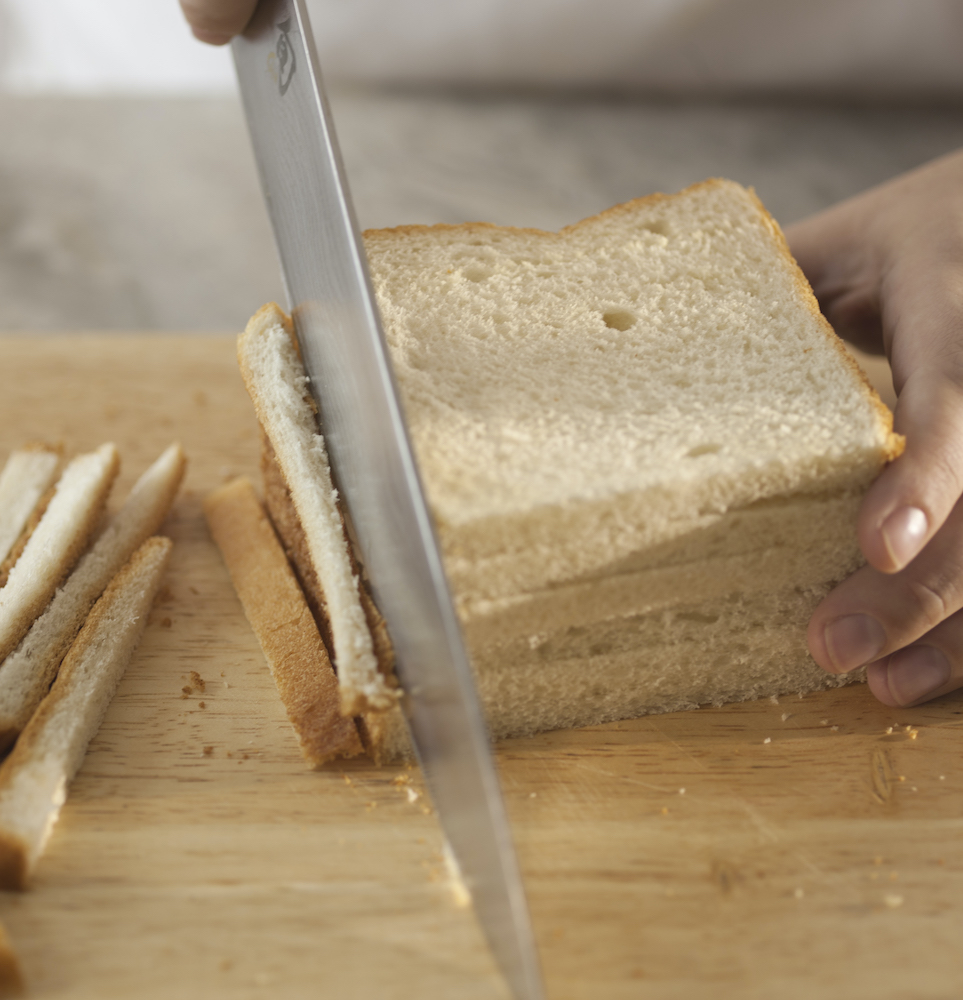
When chicken is breaded–coated with flour; flour and egg; or flour, egg and breadcrumbs–it needs to be cooked in a sauté pan over gentle heat. The heat is much lower than if you were sautéing chicken that had no coating. Keep in mind that it is the bread or other coating that you’re browning and not the chicken itself. For this reason, browning breaded foods usually requires lower heat. In French cooking, there are several kinds of breading. A simple coating of flour, followed by sautéing, is called “à la meunière.” When the floured food is then coated in egg and sautéed, it is called “à la parisienne.” When coated with flour, eggs, and breadcrumbs, it is called “à l’anglaise.” When foods are coated à l’anglaise and gently cooked in clarified butter, they absorb some of the butter and turn a golden brown. When all goes well, there should be an ever-so-slightly-crispy coating and a melting, perfectly cooked, interior. But most people make horrible breaded foods because they use whole butter (which leaves specks on the breading) or, worse, oil (which has the wrong flavor if it has flavor at all), canned breadcrumbs (which are rancid and ghastly) and they cook over too high a heat. To make the breadcrumbs for the coating, cut the crumbs off several slices of dense-crumb white bread. Let the bread get ever so slightly stale or leave it in a low oven for about 10 minutes. You don’t want to dry it out, but rather just keep the crumbs from gumming up. The breadcrumbs should be as fine as possible (so they don’t absorb too much fat) such that I work the bread through a drum sieve. You can also use a strainer. Once the breadcrumbs are in hand, pound the chicken breads just enough to flatten the thicker end so that the breast is of even thickness. Don’t try to make the breasts too thin or they’ll dry out when you cook them. Cook over low to medium heat in clarified butter. If you continue to use the butter in the pan for a second batch, strain it first to eliminate specks.
1 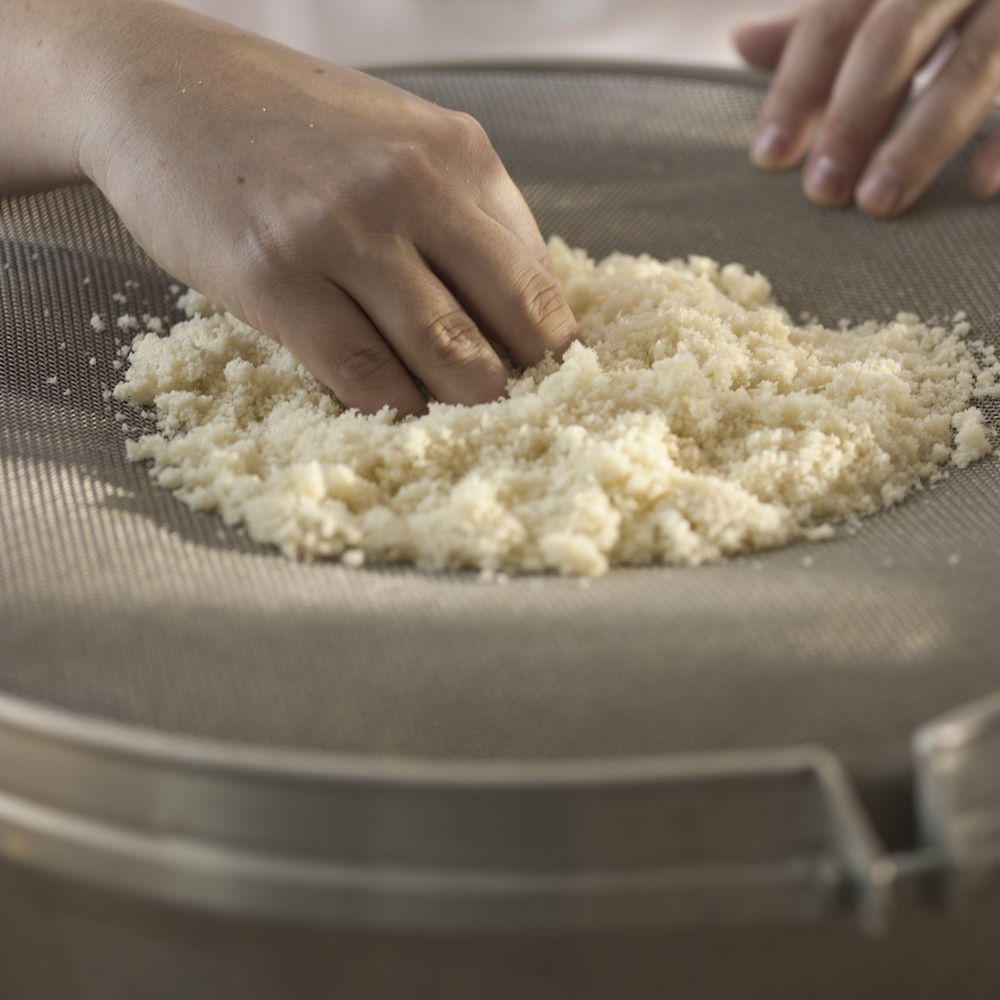
2 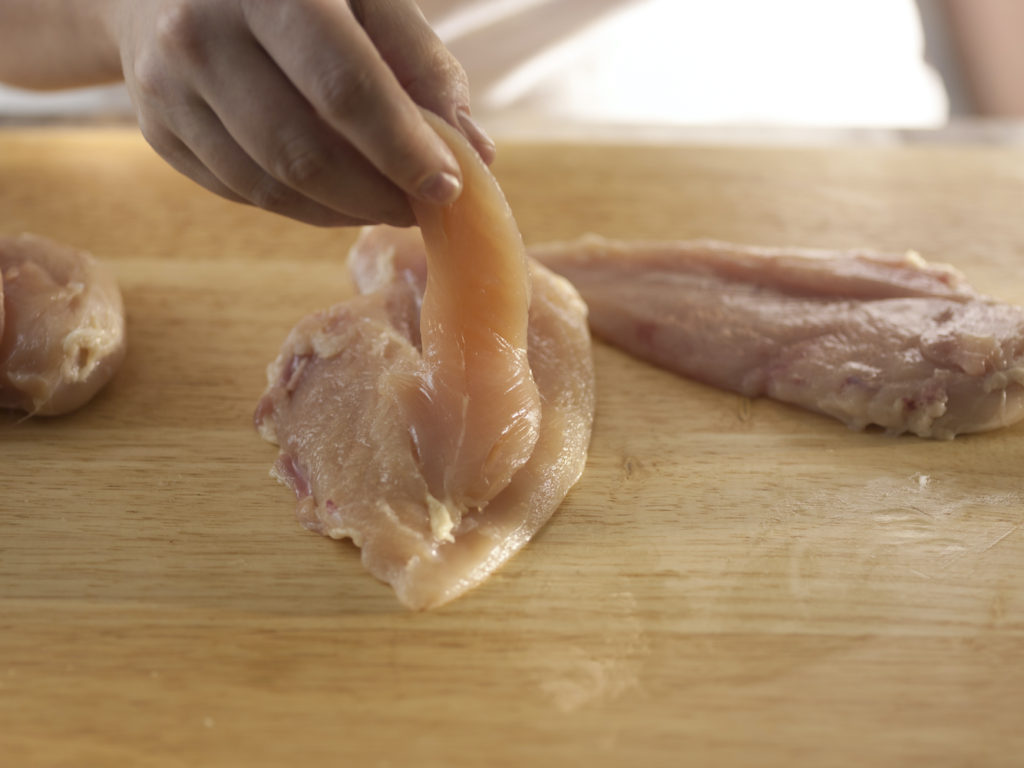
3 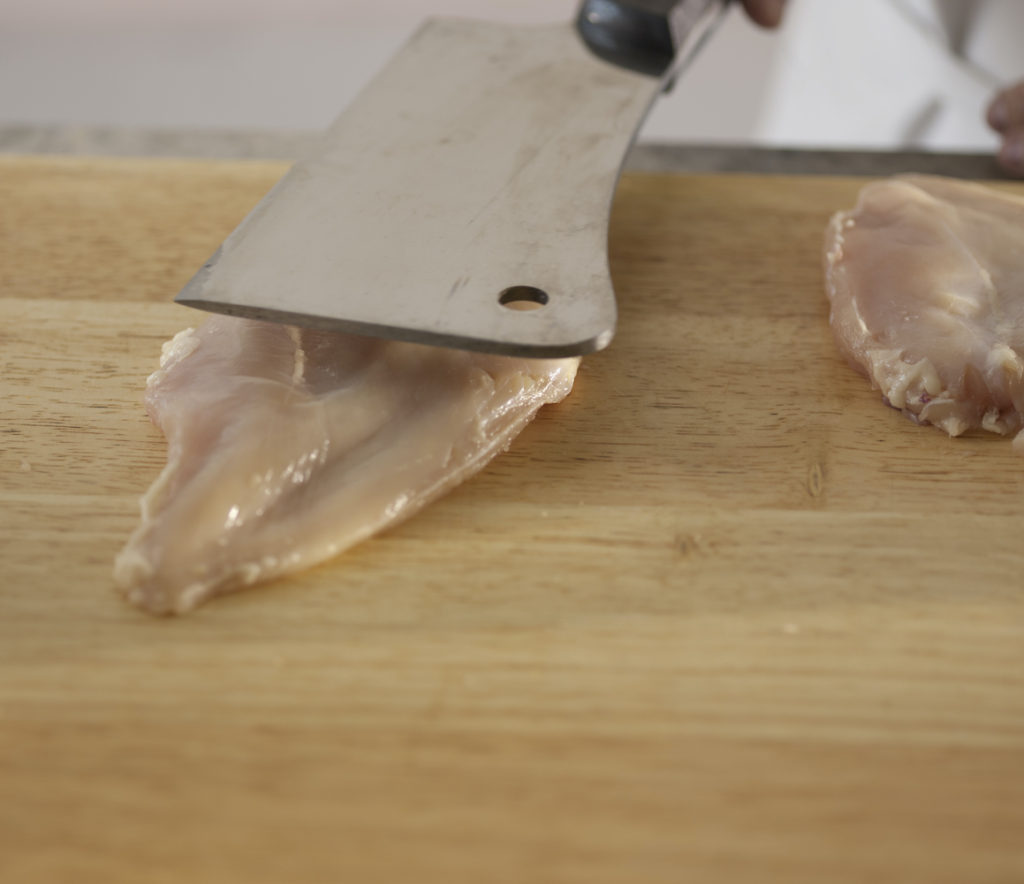
4 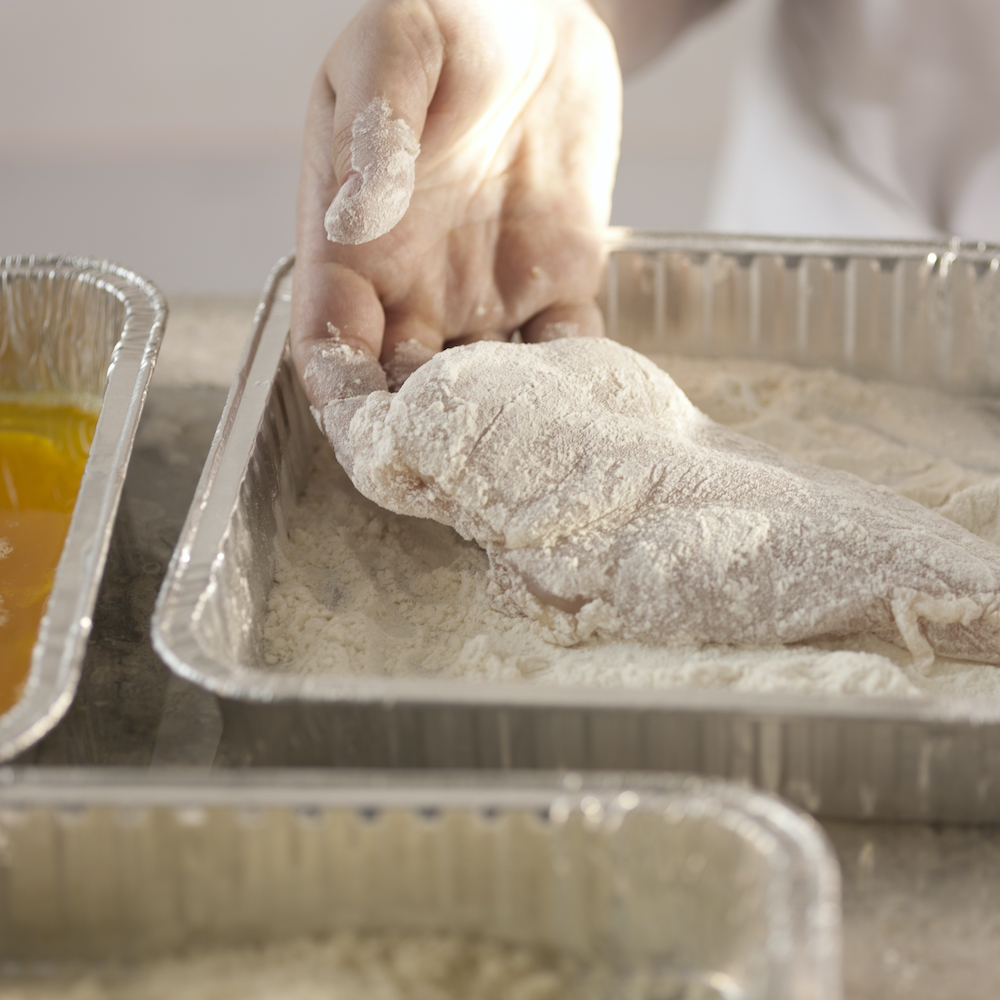
5 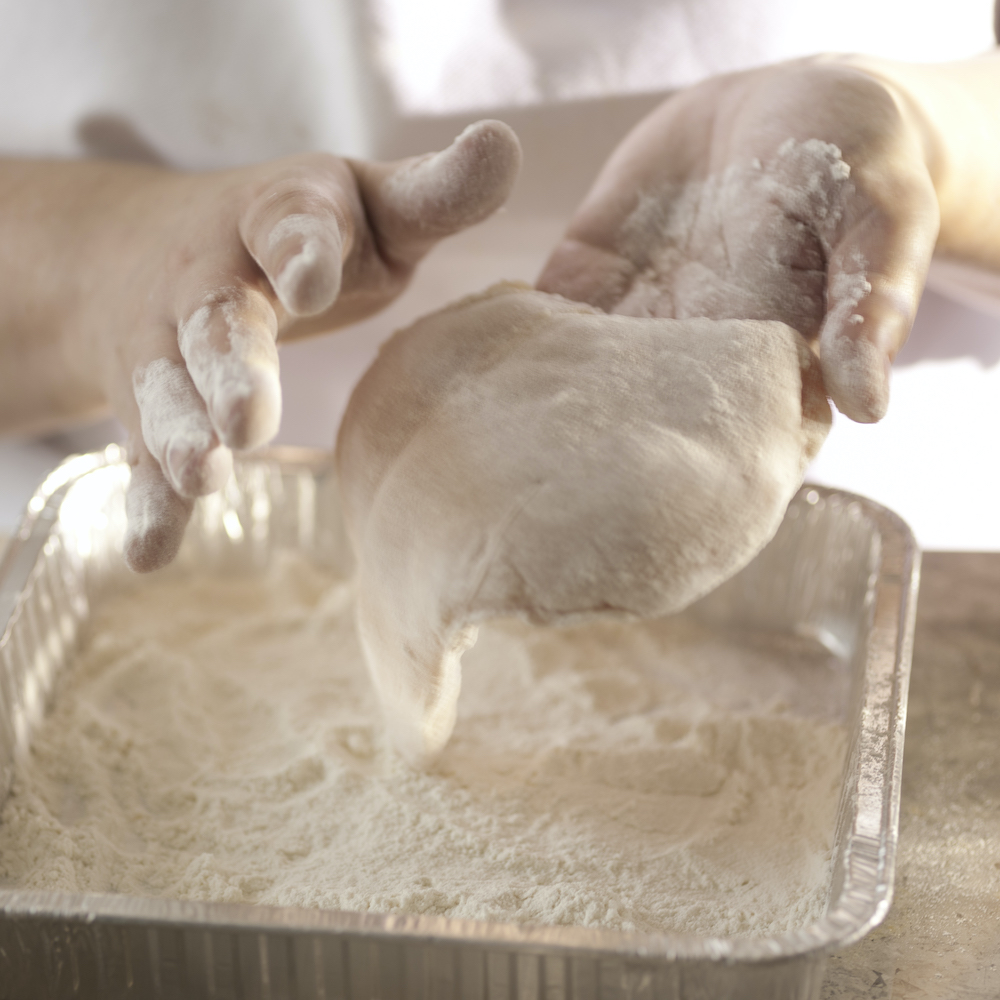
6 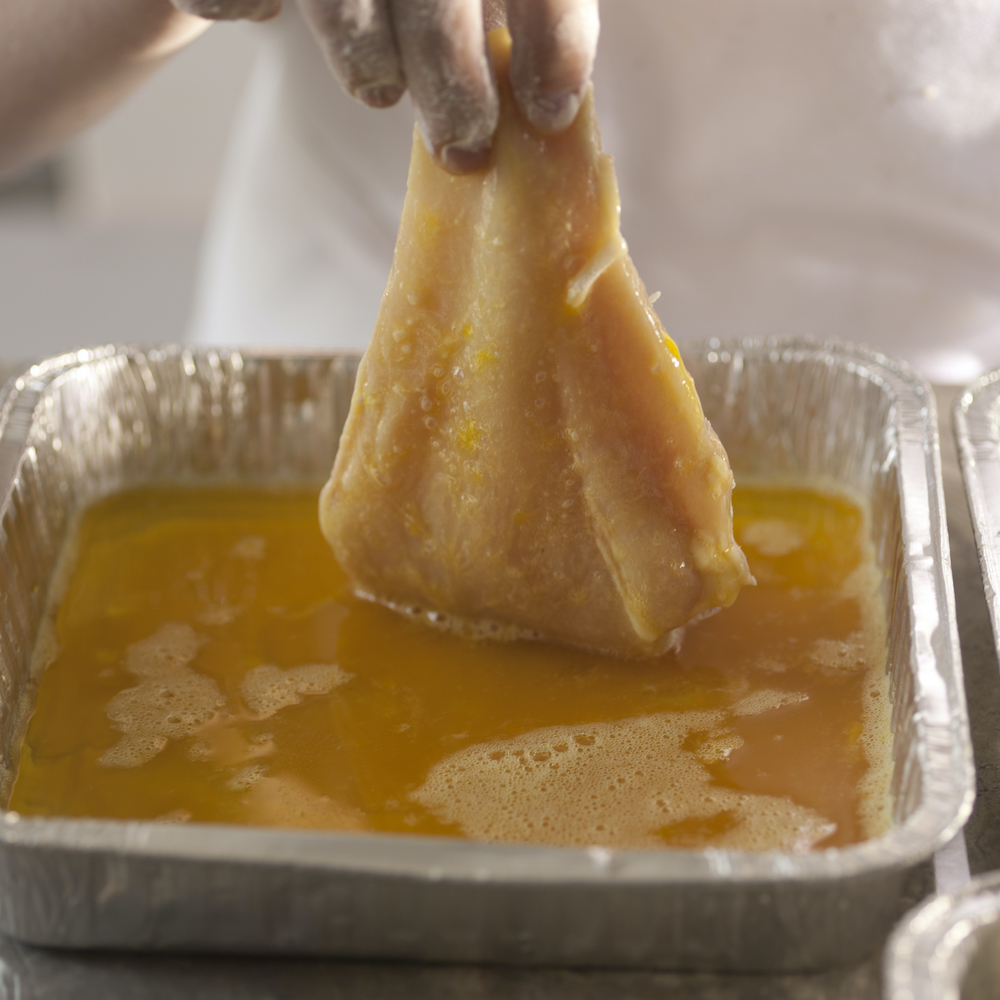
7 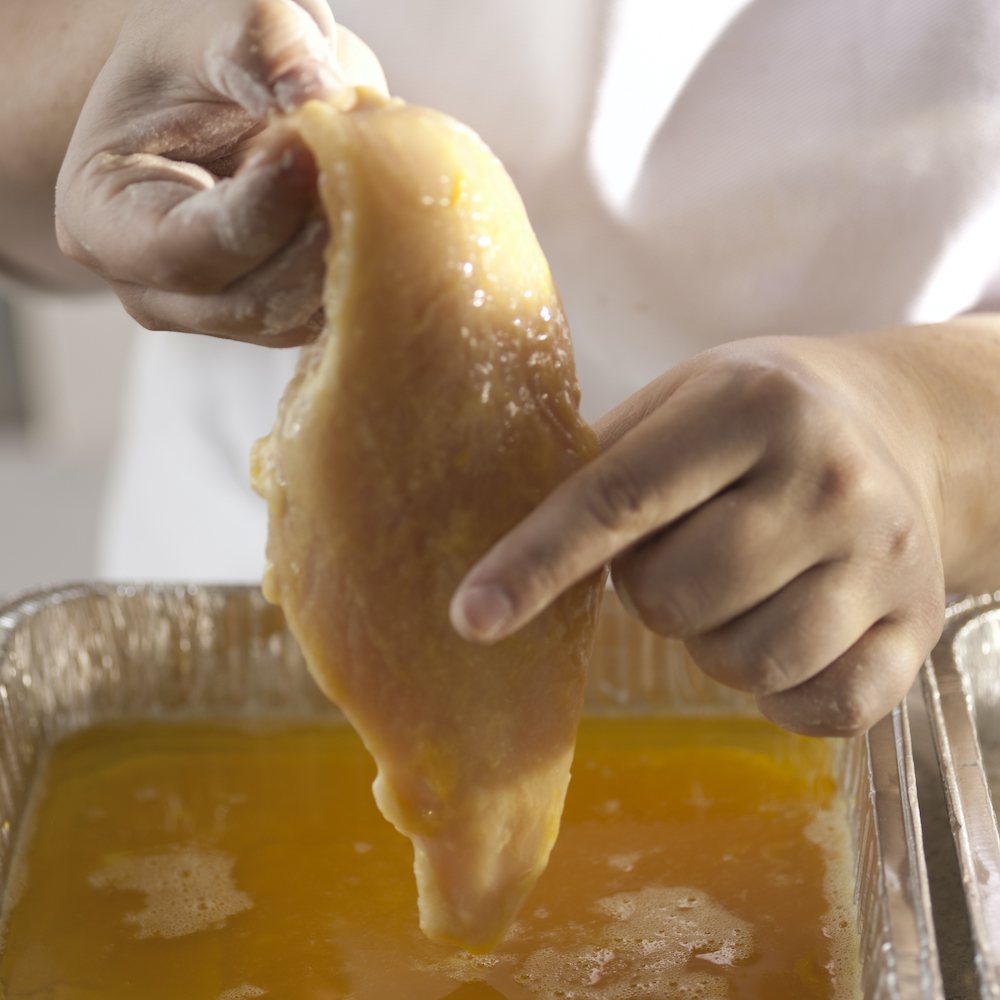
8 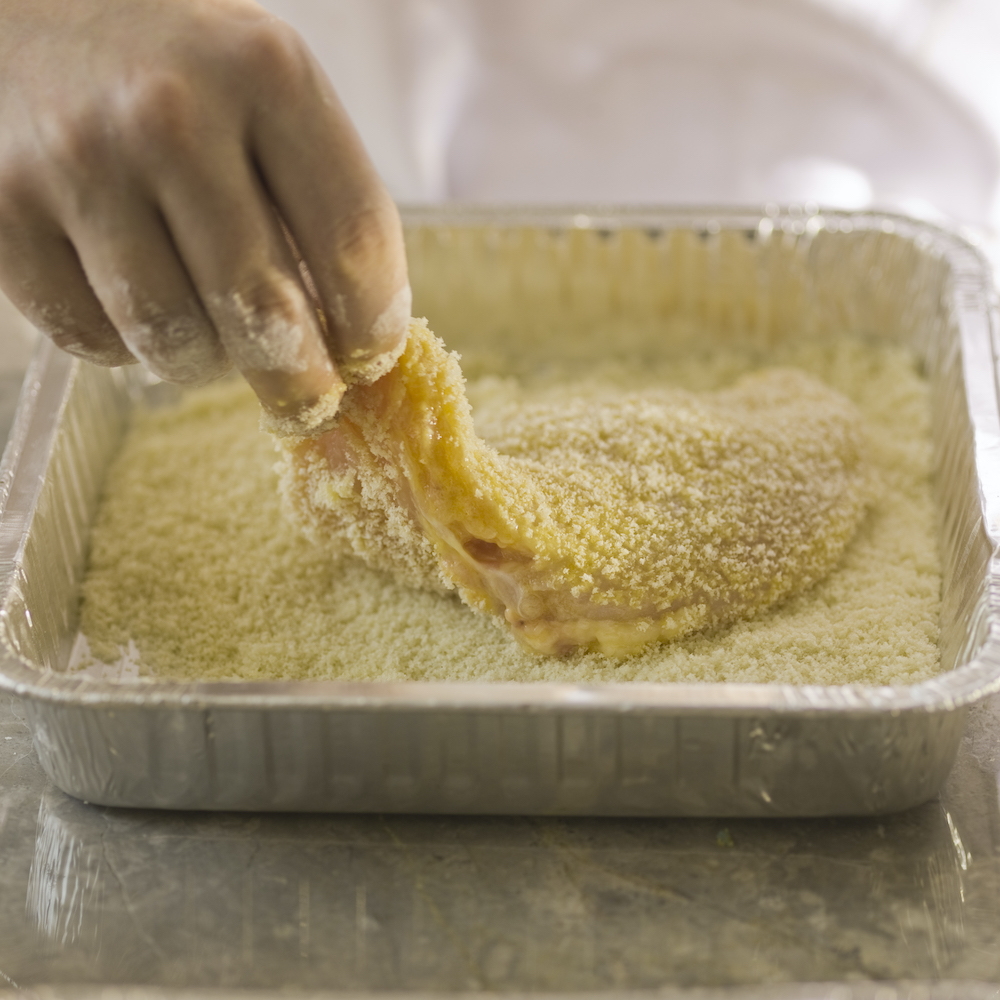
9 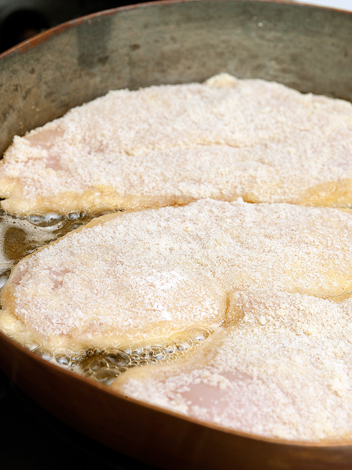
10 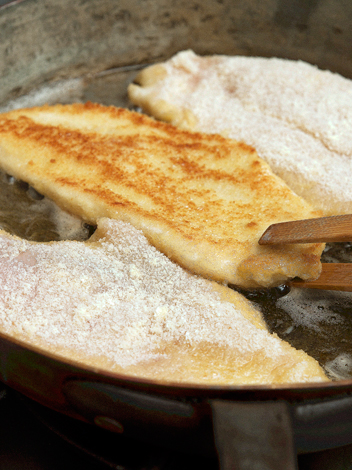
11 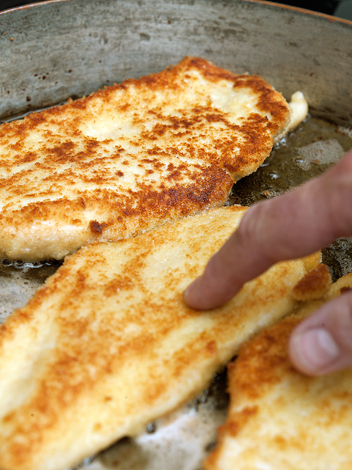
12 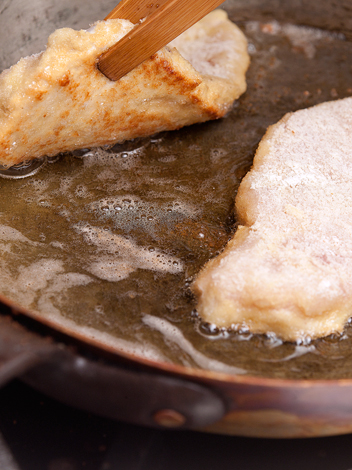
13 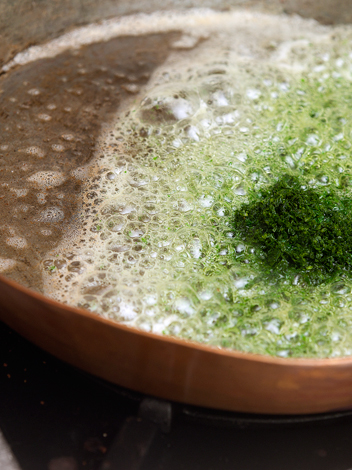
14 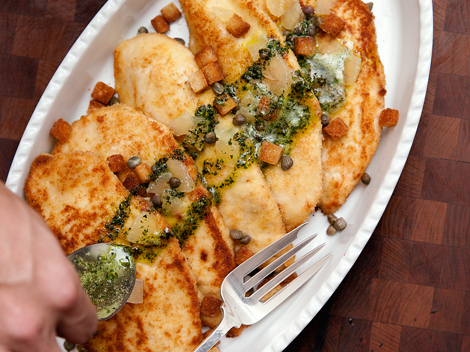
15 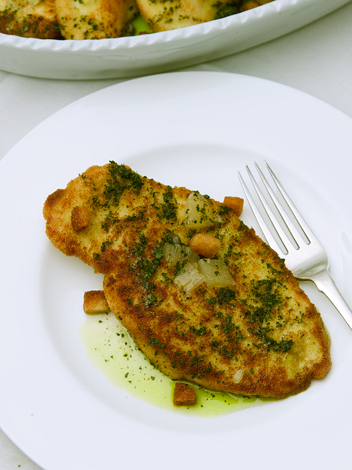
16
Fried Chicken
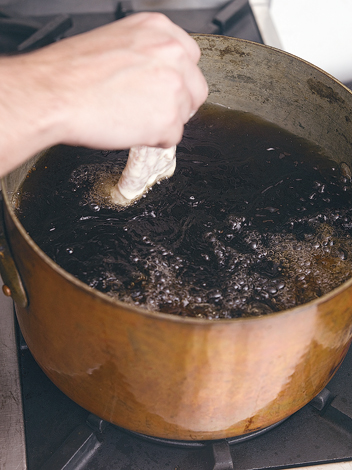
To fry a chicken, cut it up and plunge it in hot oil. The temperature of the oil, usually around 340 degrees, should be regulated depending on how the chicken is cooking relative to how it is browning. If the chicken browns too fast, it won’t cook through.
There is much debate as to how the chicken should be coated before it goes into the oil. My own preference is for the thinnest coating possible—such as a simple dipping in flour or a light batter of flour and water—but there are those who want a thick batter, perhaps containing eggs. Recipes for batters abound, but I’ve found that many of the traditions, such as using beer or seltzer, make no difference at all.
Whenever you fry, be sure to take precautions. Use a heavy pot, keep it on the back of the stove, and never fill it more than halfway full. Use tongs or a spider to lower the chicken slowly into the hot oil (if it’s plunged in all at once, the oil may boil up and overflow) a bit at a time. Continue adding the chicken, adjusting the temperature to keep the oil from boiling over.
While not usually served with a sauce, I find a flavored mayonnaise, such as tartar sauce, to be indispensable. Old recipes even call for elaborate sauces such as sauce poivrade, a sauce based on vinegar and pepper.
1 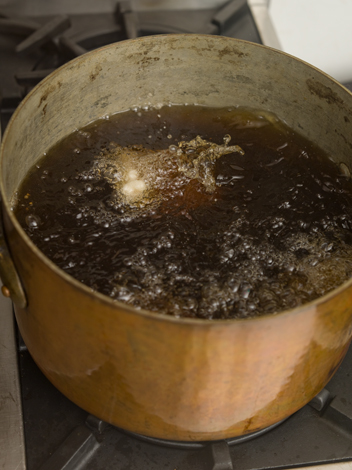
2 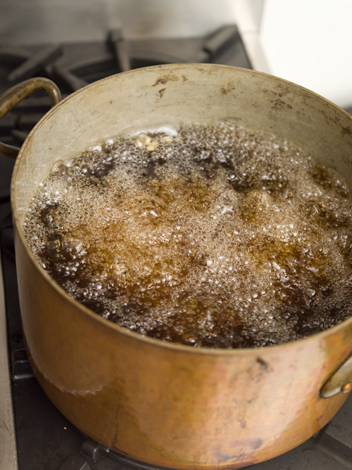
3 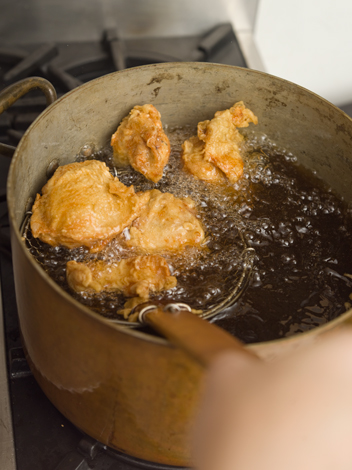
5 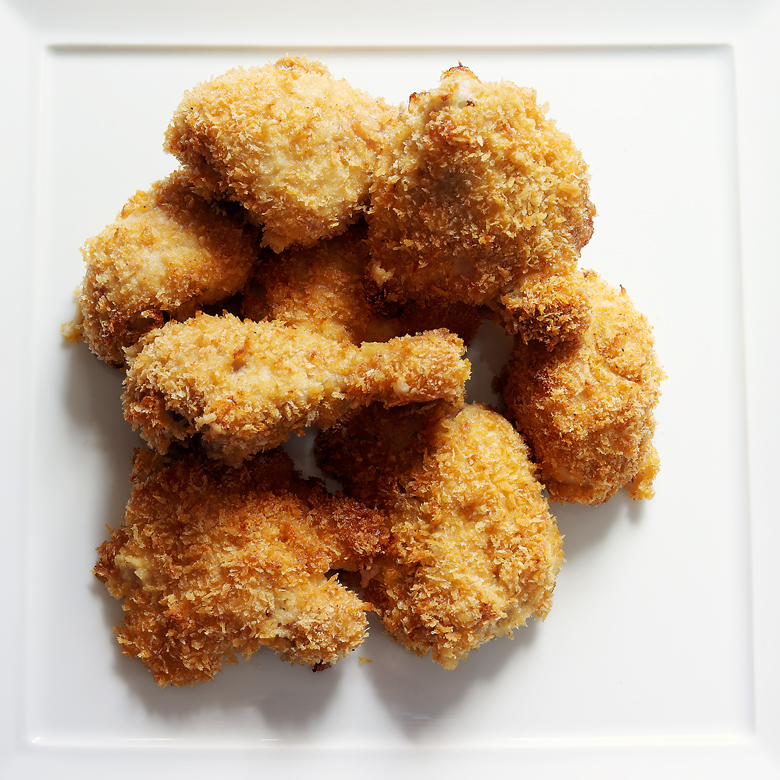
4